Windows 平台下安装 OpenClaw 的完整教程,包括 Node.js、Git 安装,PowerShell 一键安装配置,以及 OpenAI/Google 模型的 Auth 认证流程。
1、安装 Node.js 22.22.1 版本
前往 Node.js 官网下载:https://nodejs.org/
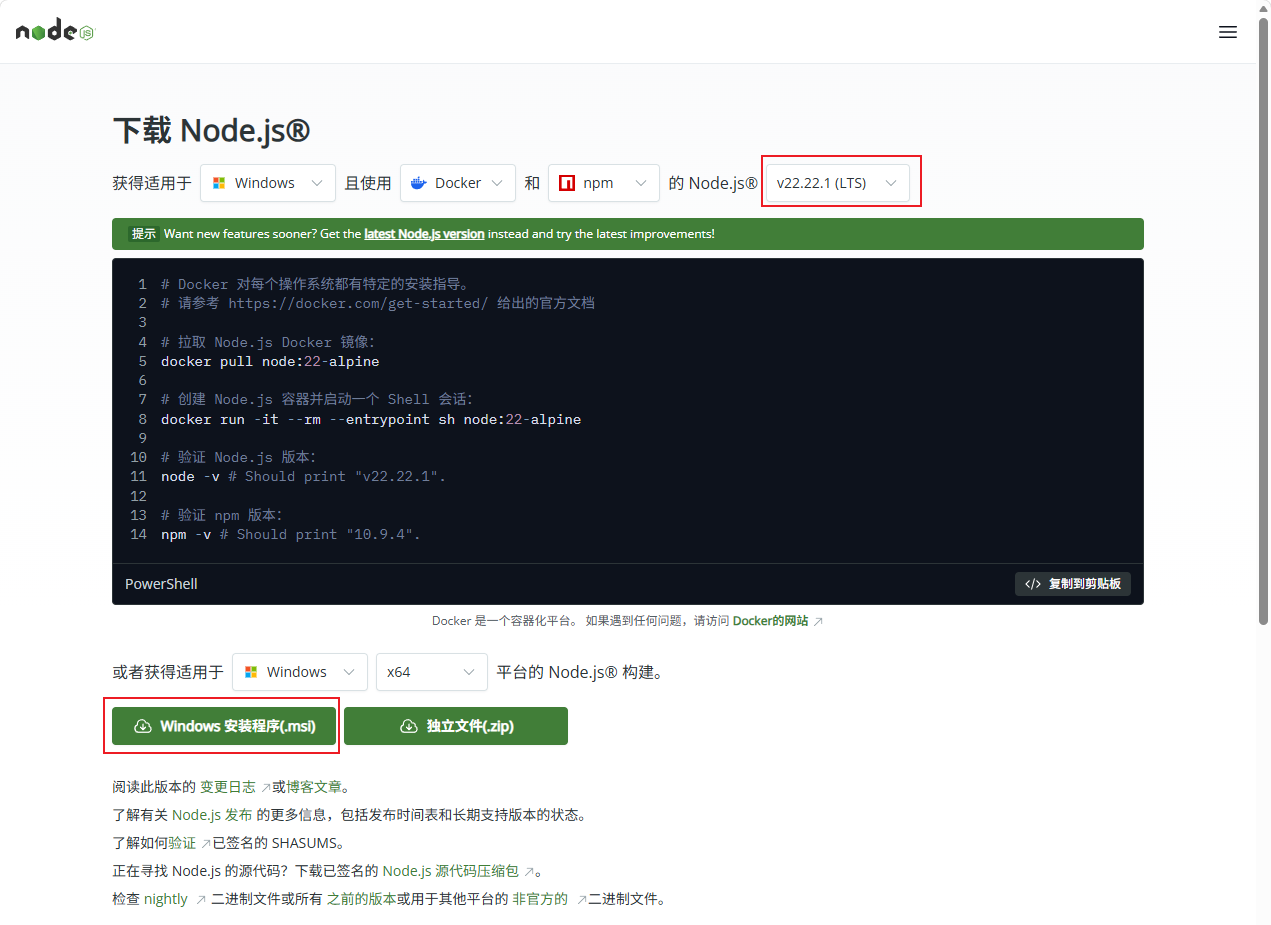
安装一路 NEXT 就行。
2、安装 Git(用于技能依赖下载)
前往 Git 官网:https://git-scm.com/,选择左侧 install,下载 windows/x64 setup。
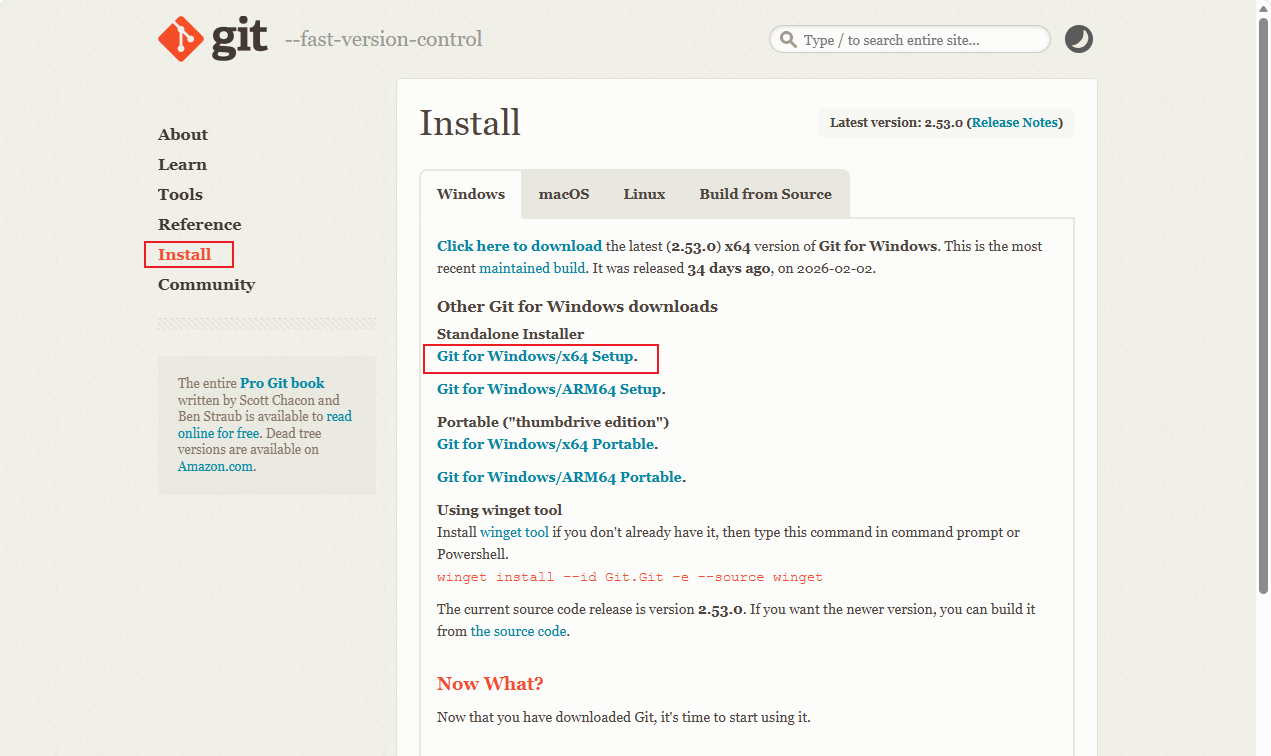
安装一路 NEXT 即可。
3、一键安装(PowerShell)
- 按 Win 键 + S
- 搜索 PowerShell
- 鼠标右键 → 以管理员身份运行
1)在管理员 PowerShell 中运行
| |
选择 yes。
| |
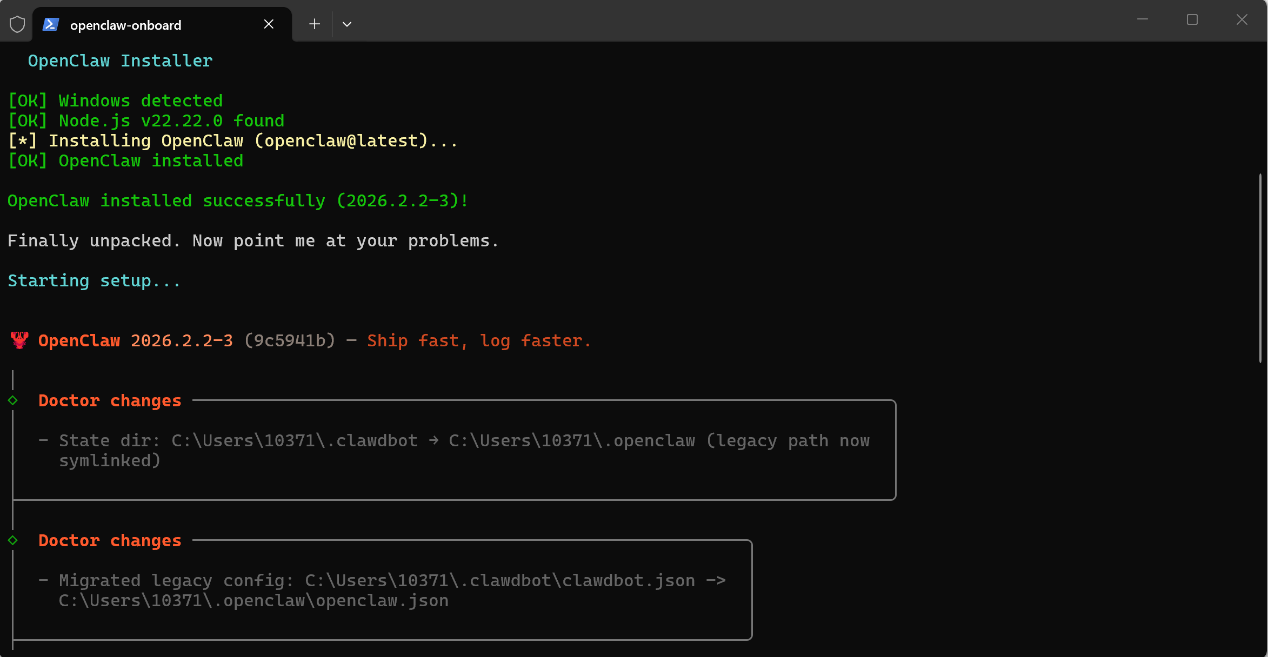
2)初始化配置
安装完成后通常会自动进入配置流程。 如果你不小心关闭了 PowerShell,重新打开后执行:
| |
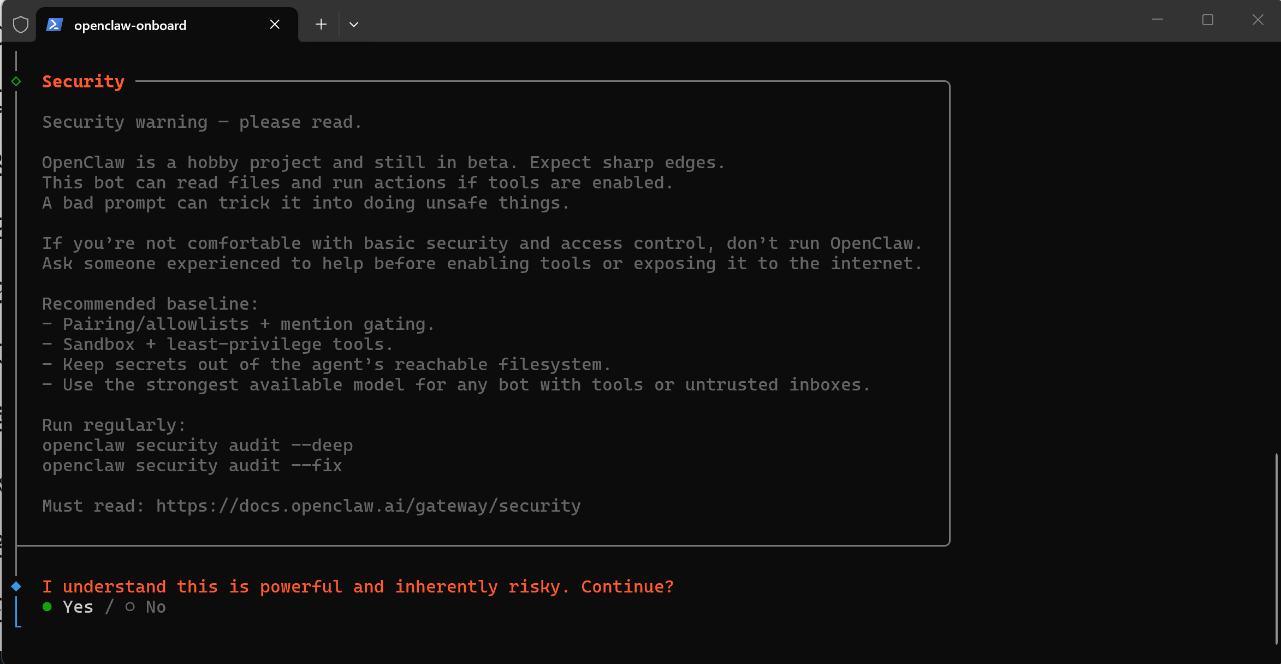
第一个风险提示:
I understand this is powerful and inherently risky. Continue?
选择 Yes。
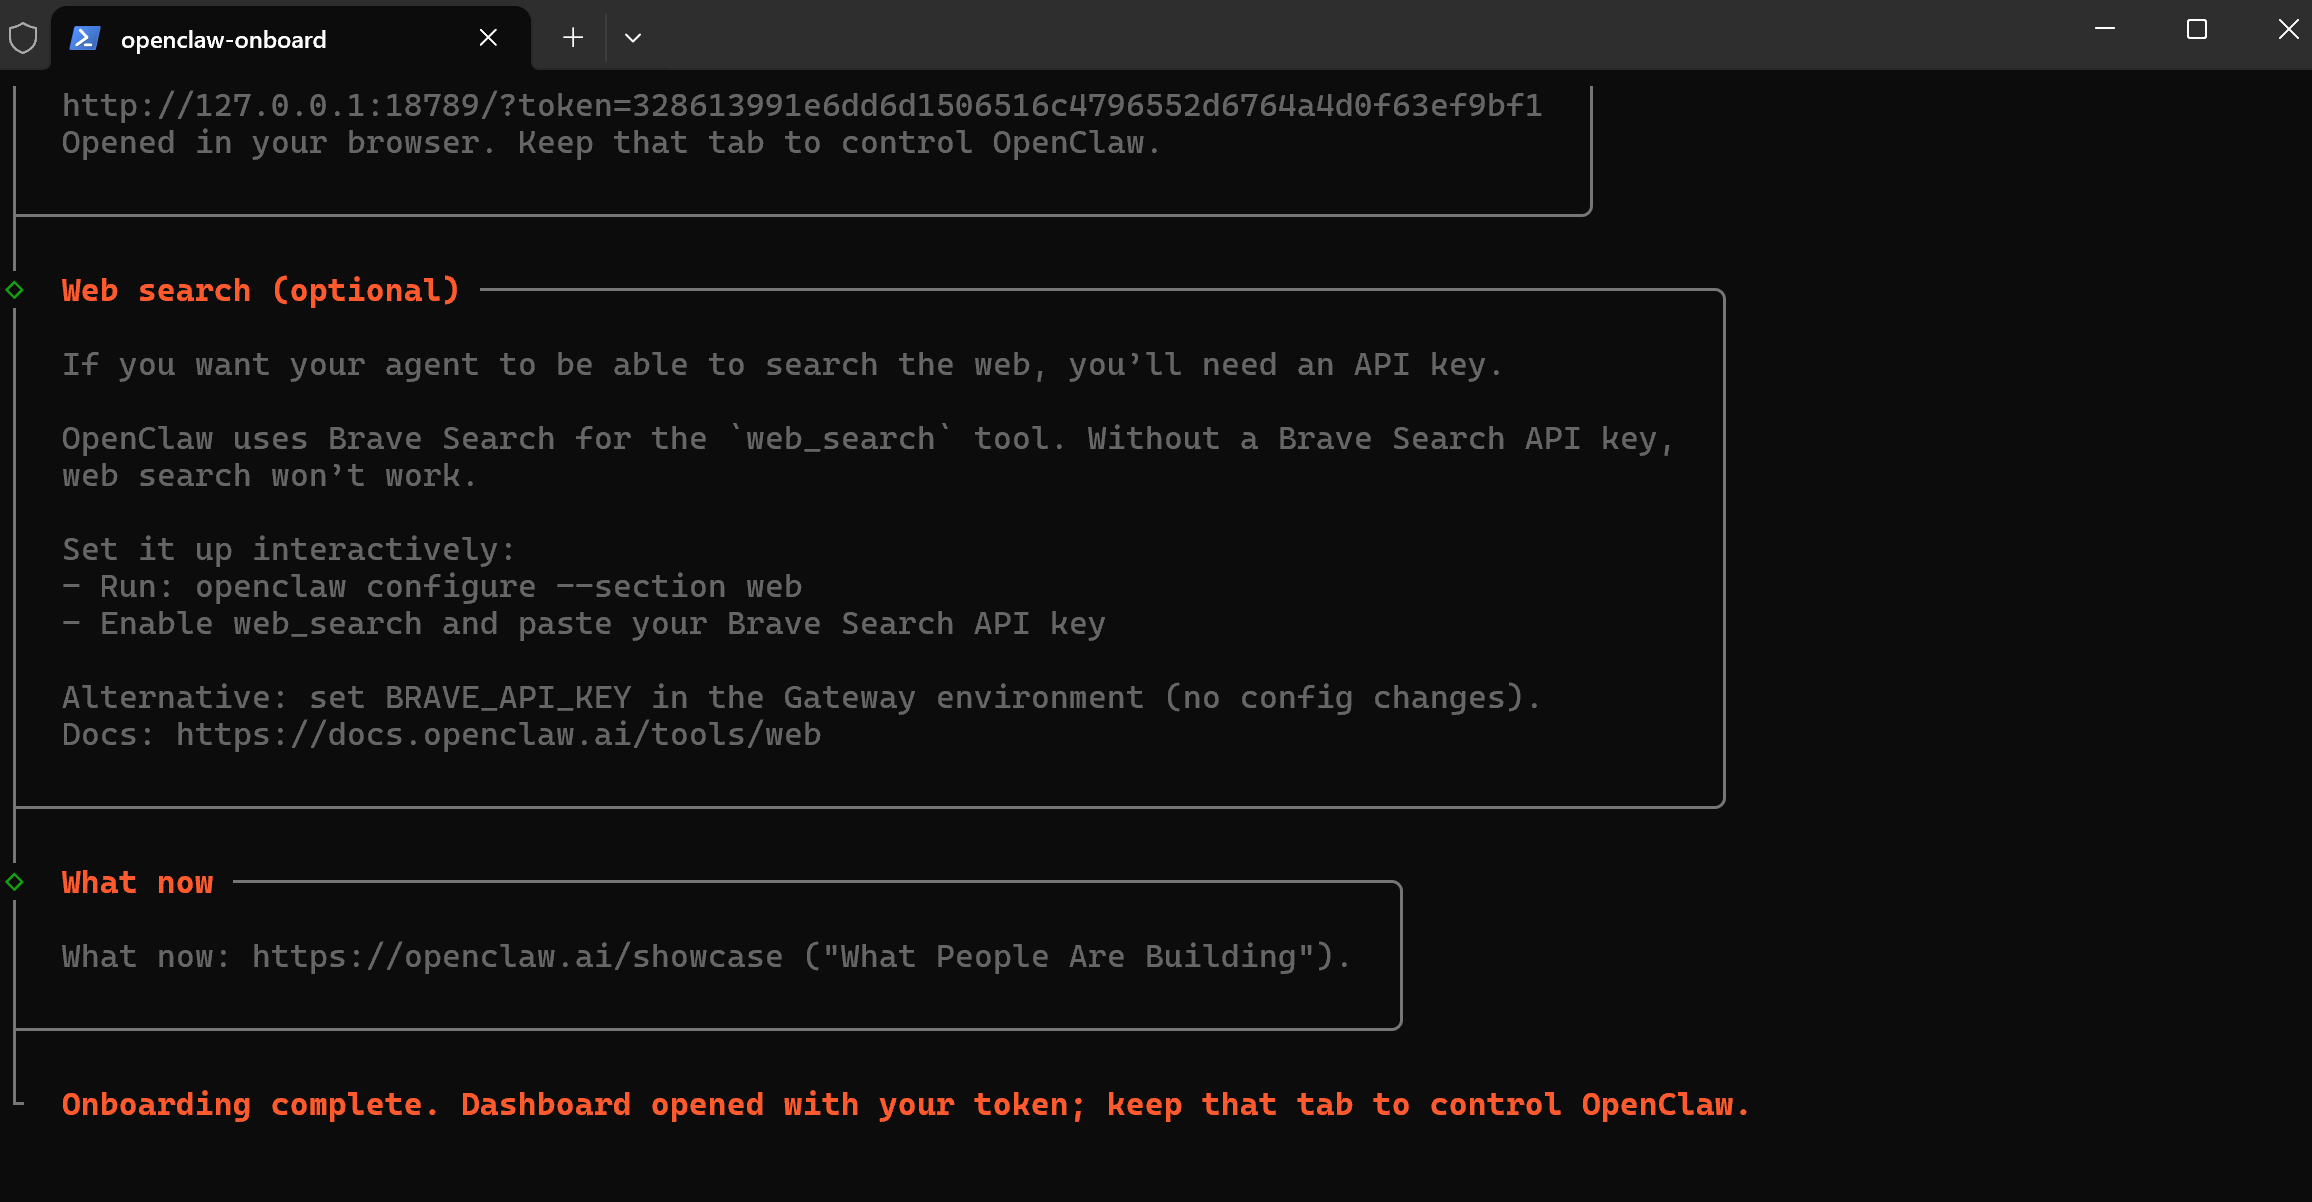
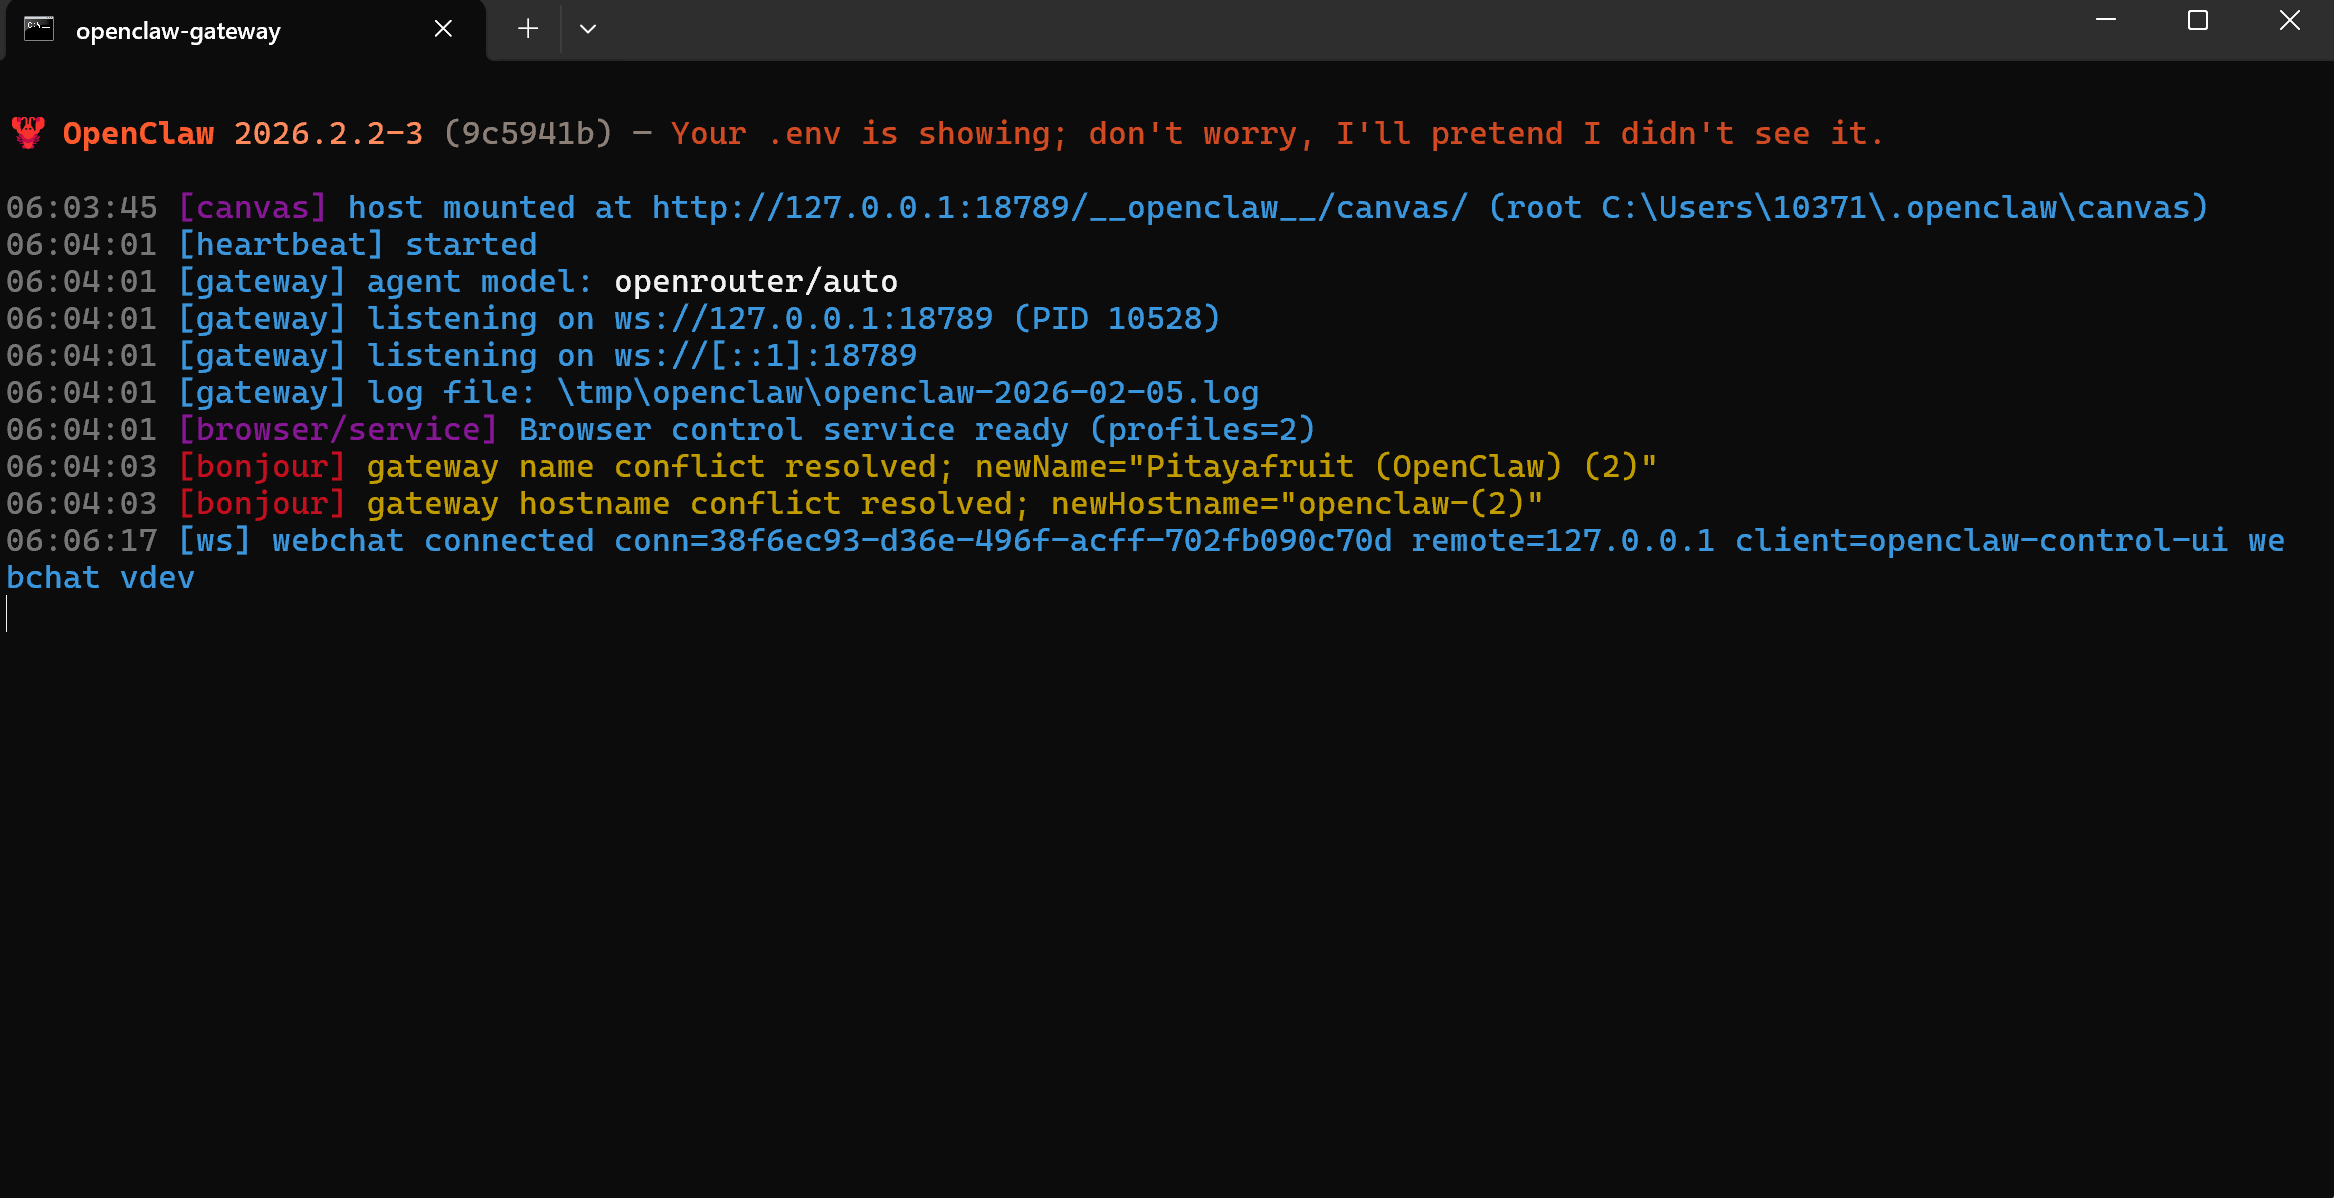
之后的选项都先跳过,安装启动网关后,它会自动新开一个 PowerShell 窗口,都不要关闭。
3)进行权益认证(选择模型)
安装 Codex CLI
| |
在 OpenClaw 中配置 OpenAI 模型
| |
- 选择 model → OpenAI → openai-codex 验证
- 模型选择 openai-codex 前缀的
- 选好后回车,continue
可以通过以下命令查看可用模型:
| |
安装 Gemini CLI
| |
在 OpenClaw 中配置 Google 模型
| |
- 选择 model → 模型选择 Google 的 → 验证方式选择 gemini-cli 方式
- 验证完后,模型选择 gemini-cli 前缀的,回车,continue
可以通过以下命令查看可用模型:
| |
4、连接 QQ
1)打开 QQ 开放平台
打开 QQ开放平台,点击龙虾专用入口。


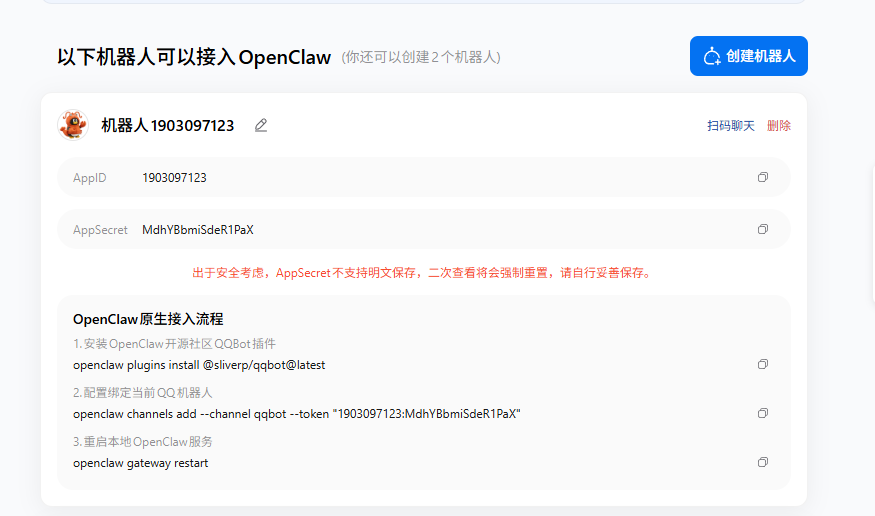
创建后跟着提示操作在 PowerShell 中进行即可。